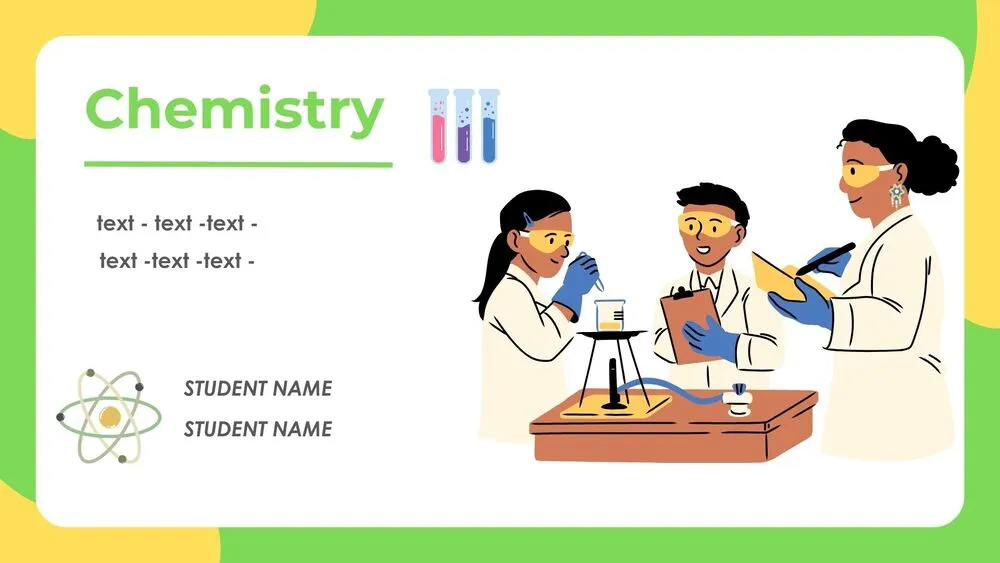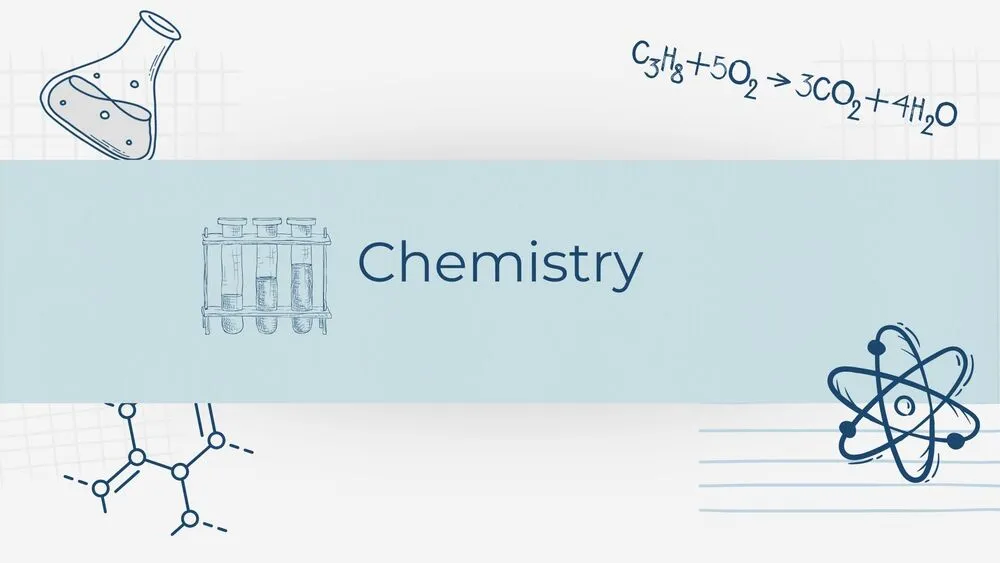
Chemistry Presentation Templates and Slides – Free & Premium for PowerPoint, Canva & Google Slides
Download free chemistry presentation templates for PowerPoint, Canva, and Google Slides. Explain molecules, reactions, lab diagrams, and safety with classroom-ready slides ⬇️
Explore the Best Chemistry PowerPoint Templates, Google Slides & Canva Chemistry Themes
✨ Chemistry slide decks help you teach complex concepts with visuals that students can follow. Use these layouts for molecule diagrams, reaction pathways, lab setups, and safety icons so lessons stay clear and structured.
They’re great for classroom teaching, lab briefings, and student presentations. Build a flow with objectives, key theory, worked examples, and practice, then add pH scales, bonding diagrams, titration steps, and results tables for experiments.
Edit in PowerPoint, Canva, or Google Slides, then present live or export a clean PDF for handouts. Insert formulas, adjust labels, and keep diagrams consistent by using the same styles across the whole deck.
Best for:
- Chemistry lessons and classroom lectures
- Lab safety briefings and experiment steps
- Reaction and mechanism explanations
- Data tables, charts, and results reporting
- Student projects and science fairs
Explore related templates:
Readability tip: Keep one reaction per slide, use consistent subscripts and superscripts, and add a small legend for colors and symbols.
❓ FAQs
Are these Chemistry presentation templates free to download?
Yes—this tag includes free chemistry presentation templates. If a template is premium, it will be clearly labeled on its template page.
What is a chemistry presentation template?
A subject-specific deck with layouts for theory, experiments, safety, and practice, featuring chemistry icons, molecule diagrams, and data-ready charts.
How can I show reactions and mechanisms?
Use step-by-step frames with clear arrows and labels, then add light animations only to reveal each step. Keep colors consistent for reagents and products.
Tips for readable formulas and equations?
Use consistent subscripts and superscripts, increase spacing, and keep high contrast between text and background. Avoid busy textures behind equations.
Do these slides work in PowerPoint, Canva, and Google Slides?
Yes, you can edit these chemistry layouts in PowerPoint, Canva, and Google Slides, then export to PDF for printing or sharing.
Can I use these for labs and assessments?
Yes, add lab setup slides, safety checklists, result tables, and rubric pages. Export handouts as PDFs for students when needed.