Futuristic Presentation Templates and Slides – Free & Premium for PowerPoint, Canva & Google Slides
Download free futuristic presentation templates for PowerPoint, Canva, and Google Slides. Create neon, grid, and HUD-style decks for product launches, AI stories, and bold innovation updates ⬇️
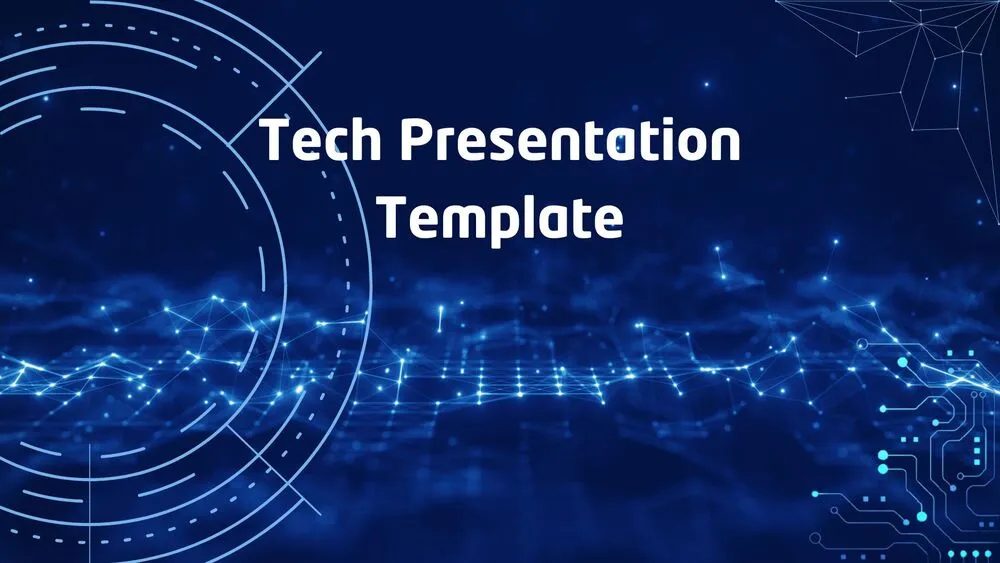
Explore the Best Futuristic PowerPoint Templates, Google Slides & Canva Futuristic Themes
✨ Futuristic slides are built for tech-forward storytelling, with neon accents, grids, and HUD-style elements that keep complex ideas easy to scan. Use a futuristic powerpoint template when you want your deck to feel modern, sharp, and product-led.
Best use cases include product launches, AI demos, and innovation updates. For example, pair a dark-mode overview slide with KPI cards, a roadmap timeline, and a feature comparison panel that highlights what changes from v1 to v2.
Edit everything in PowerPoint, Canva, or Google Slides, then present live and export a polished PDF for stakeholders, or a short video for launch teasers. If you prefer collaboration, start from a futuristic google slides theme and keep the same visual system across teams.
Readability tip: keep body text short, use high contrast for labels, and reserve the brightest neon accents for highlights and key numbers.
Best for:
- Product launches and feature announcements
- AI and technology presentations
- Startup pitch decks and demos
- Innovation roadmaps and R&D updates
- Dark-mode KPI dashboards
Explore related templates:
❓ FAQs
Are these futuristic presentation templates free to download?
Yes—this tag includes free futuristic presentation templates. If a template is premium, it will be clearly labeled on its template page.
What defines a futuristic presentation style?
Dark backgrounds, neon accents, clean geometry, and subtle HUD elements that make tech content feel current and premium.
When should I use a futuristic theme?
Use it for product launches, AI updates, cybersecurity briefings, and data-heavy demos where a modern look supports innovation.
Do these slides work in PowerPoint, Canva, and Google Slides?
Yes, you can edit and present them in PowerPoint, Canva, and Google Slides, then export to PDF for sharing.
Any tips for charts in dark mode?
Use brighter labels, thin gridlines, and one highlight color for the key series. Add a short takeaway above the chart for clarity.
How do I keep futuristic slides readable?
Limit to one message per slide, avoid heavy textures behind text, and keep neon accents for headers and key numbers only.