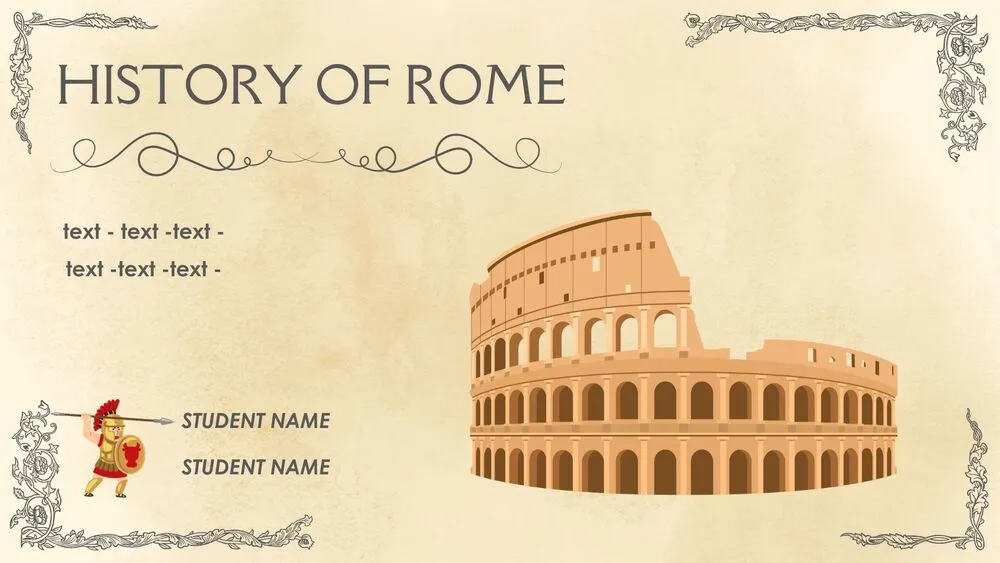
History Presentation Templates and Slides – Free & Premium for PowerPoint, Canva & Google Slides
Timelines, maps, and primary sources—make every historical period clear, accurate, and engaging ⬇️
Timelines, maps, and primary sources—make every historical period clear, accurate, and engaging ⬇️
✨ Build clear lessons with history PowerPoint template packs, history presentation template sets, and Google Slides history themes. Organize periods and events with timelines, maps, and fact cards—perfect for world, American, and ancient history units.
Prefer collaboration? Start from history Google Slide templates and google slide themes (history) for quick edits and shared planning. Add sources and citations, compare primary vs. secondary sources, and finish each unit with a review quiz or project rubric to reinforce learning.
Need special topics? Explore pages for Black History Month, Women’s History Month, or Art History. You can also print a history timeline template (Google Docs) for handouts, then keep the full deck in PowerPoint, Google Slides, or Canva for live presentations and assignments.
A ready-to-edit set for teaching or studying history—timelines, maps, topic dividers, source cards, and quizzes—built for PowerPoint, Google Slides, and Canva.
Start with essential questions and a period timeline, add geography maps and key figures/events, then close with assessment slides (quiz, essay prompts, rubric).
Yes—use dedicated layouts for Black History Month and Women’s History Month, plus biography cards and milestone timelines tailored to each theme.
Export to PDF for handouts or use a history timeline template (Google Docs) for easy printing. Keep the main deck for interactive class presentations.

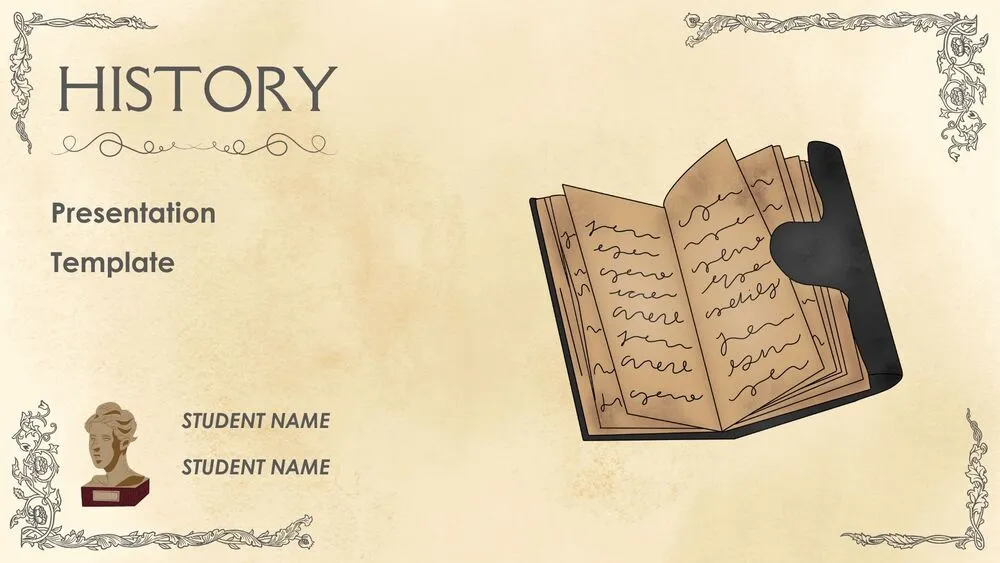
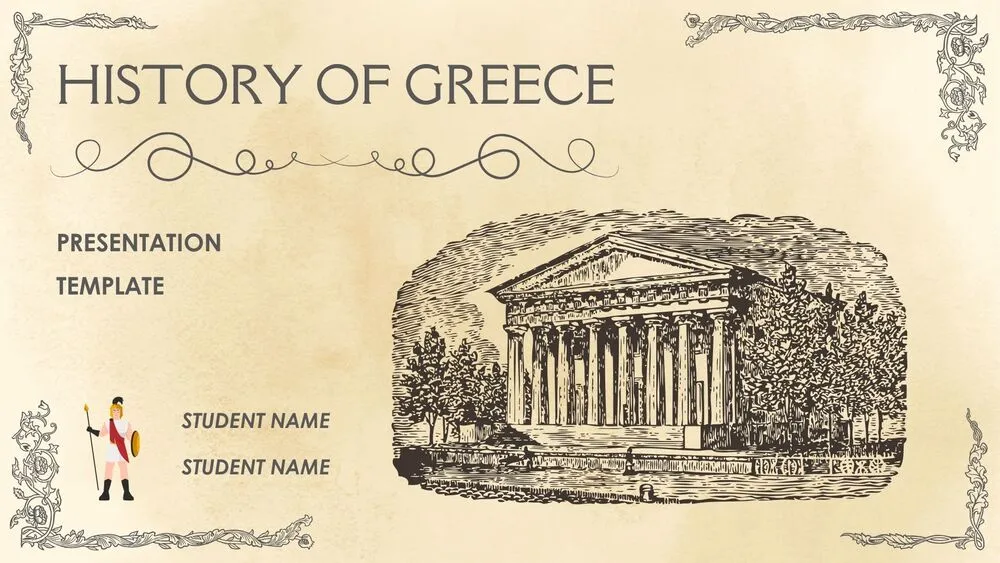


Discover more free presentation templates by platform:
¿Te gustaría recibir acceso anticipado a nuevas plantillas de presentación gratuitas, consejos de diseño y novedades exclusivas? Suscríbete a nuestro boletín hoy mismo.
Canva es la forma más rápida y sencilla de personalizar tu plantilla.
Edita textos, colores, imágenes y diseños con solo unos clics, sin necesidad de instalar ningún programa.
✨ Incluye:
PASO 1. Haz clic en el botón azul “Canva” para descargar el archivo en formato .pptx.
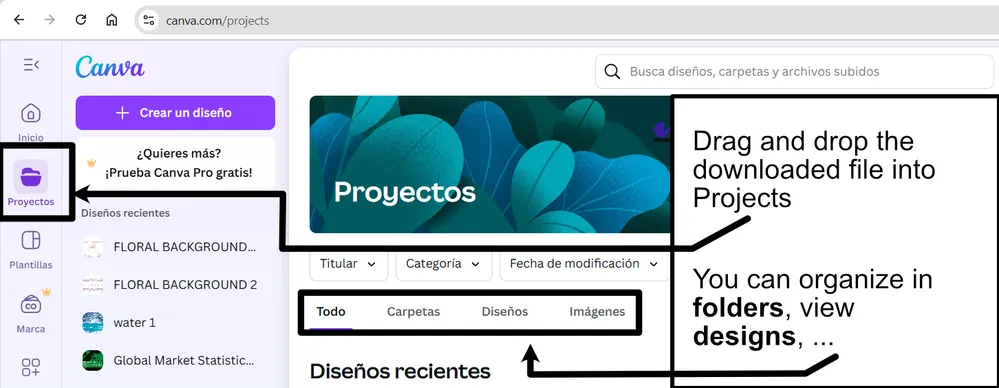
PASO 2. Arrastra y suelta el archivo descargado en la sección Proyectos de tu panel de Canva.
Dentro de Proyectos encontrarás pestañas como Carpetas, Diseños, Imágenes y una sección “Todo” que las agrupa. En la barra lateral izquierda verás además muchas herramientas útiles para editar tu presentación.
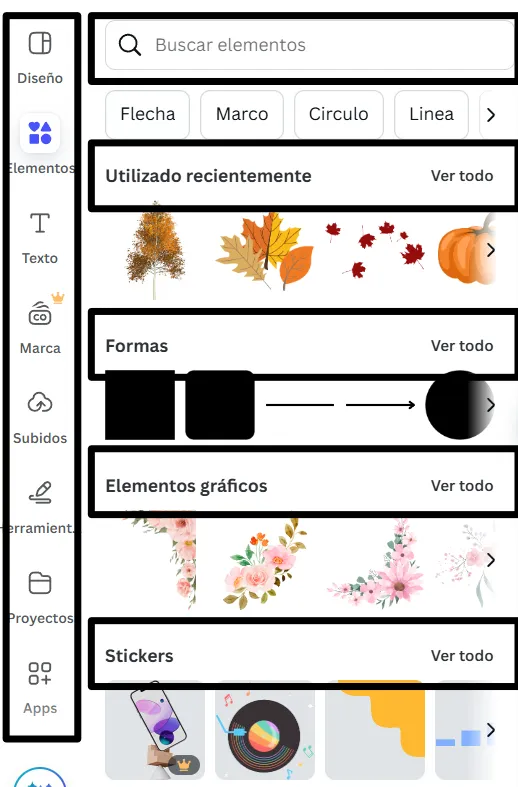
PASO 3. Al abrir la plantilla, verás en el panel izquierdo las diapositivas prediseñadas, junto con elementos como fotos gratuitas y premium, vectores, textos, archivos subidos y otras herramientas o aplicaciones disponibles en Canva.
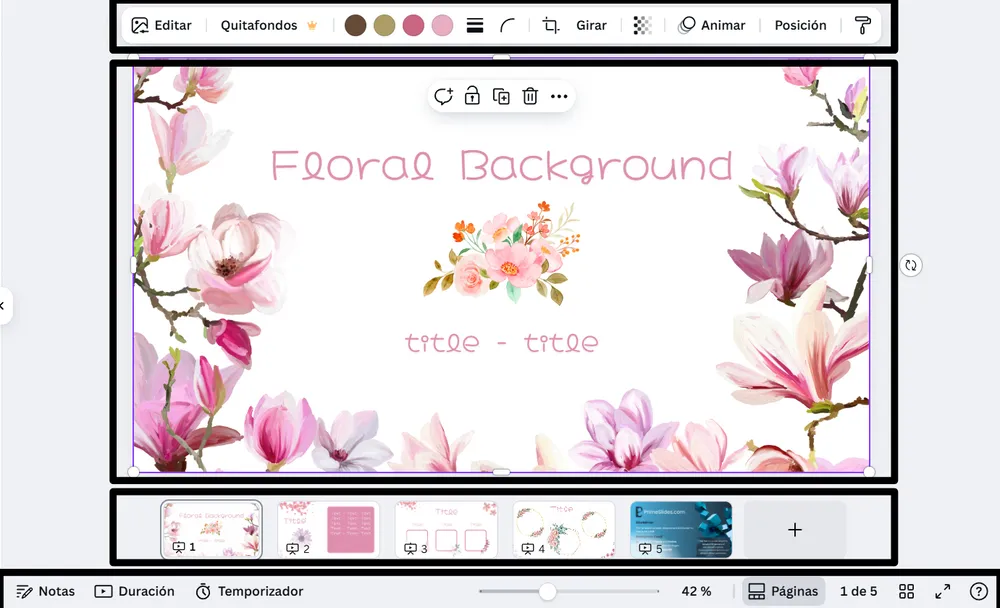
PASO 4. En el centro de la pantalla se mostrará la diapositiva activa.
PASO 5. Cuando termines de editar, haz clic en “Compartir” para acceder a varias opciones: Descargar, Presentar, Insertar en un sitio web, Crear un enlace público, y más.
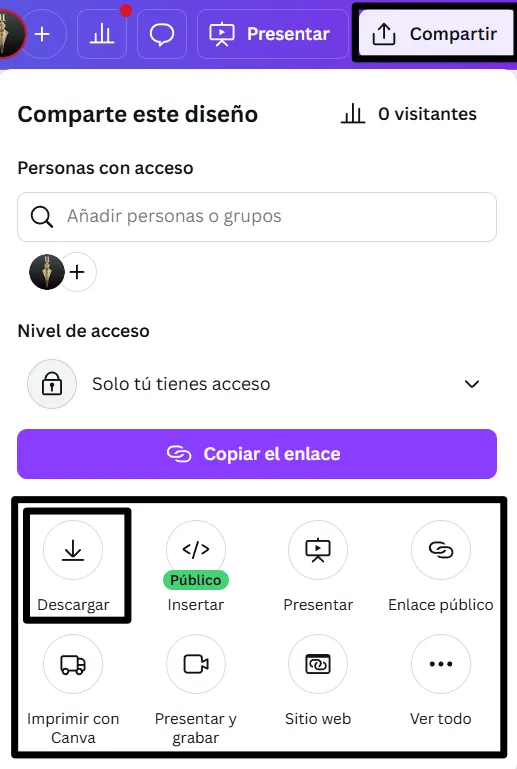
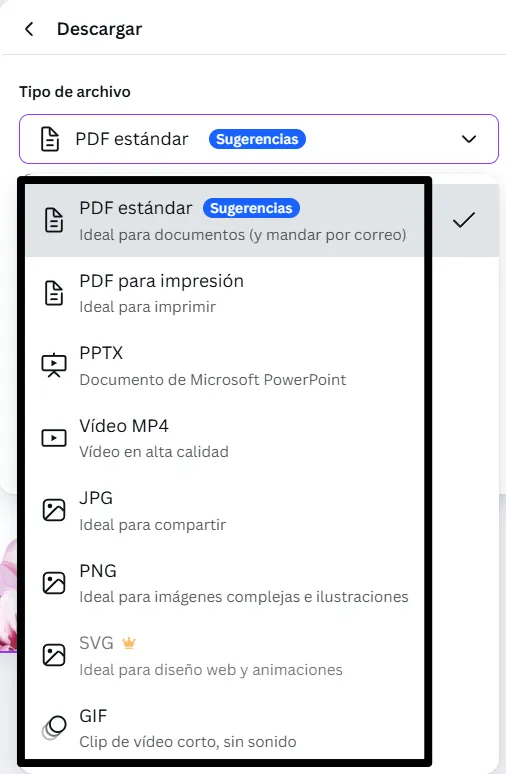
PASO 6. Puedes exportar tu presentación en varios formatos: PDF, PPTX, vídeo, JPG, PNG, entre otros.
Canva is the fastest and easiest way to personalize your template.
Edit text, colors, images, and layouts with just a few clicks — no software needed.
✨ Includes:
– STEP 1. Click the blue “Canva” button to download the .pptx file.


– STEP 2. Drag and drop the downloaded file into the Projects section of your Canva dashboard.
Inside Projects, you’ll find tabs like Folders, Designs, Images, and an “All” section that combines them. On the left sidebar, you’ll see even more useful tools.
– STEP 3. Once you open the template, you’ll find on the left, pre-designed slides, elements like free and premium photos, vectors, text, uploads, and other tools or apps available in Canva.


– STEP 4. In the center, you’ll see your active slide.
At the top, there’s a toolbar with options like Edit, Background Remover (premium), color controls for selected elements or images, and other text/image tools.
At the bottom, you’ll see a slide navigator with all pages and a “+” button to add a new slide.
At the very bottom, there’s an extra toolbar with options for Notes, Presentation Duration, Timer, etc.
– STEP 5. Download the .pptx file. When you’re done editing, click “Share” to see multiple options: Download, Present, Embed on a Website, Create a Public Link, and more.

– STEP 6. You can export your presentation in several formats: PDF, PPTX, Video, JPG, PNG, etc.

Do you want early access to new free presentation templates, design tips, and exclusive updates? Join our newsletter today.
