Texture Presentation Templates and Slides – Free & Premium for PowerPoint, Canva & Google Slides
Download free texture presentation templates for PowerPoint, Canva, and Google Slides. Add tactile depth with paper, fabric, and grain backdrops that stay clean and readable ⬇️
Explore texture presentation templates and slides for PowerPoint, Canva & Google Slides
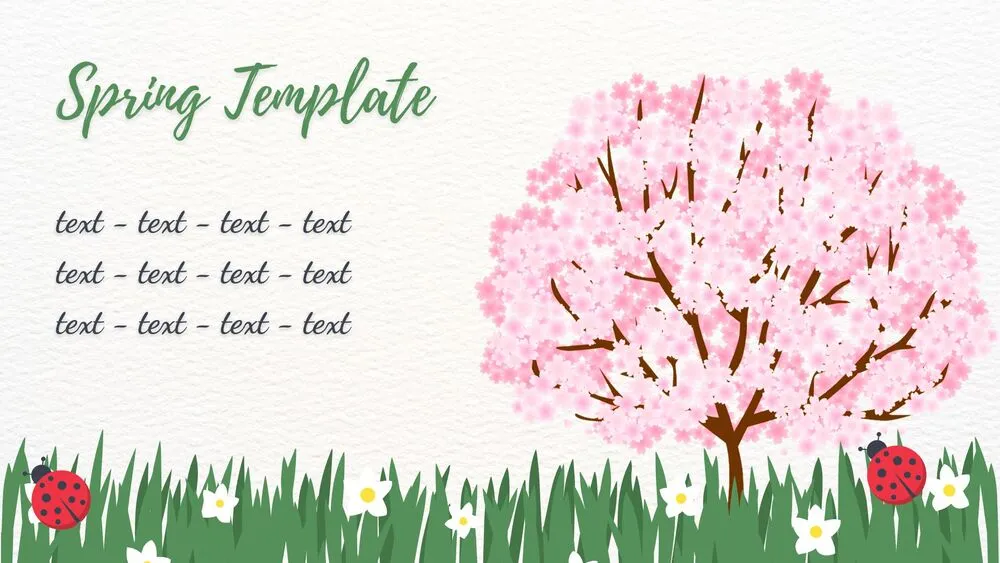
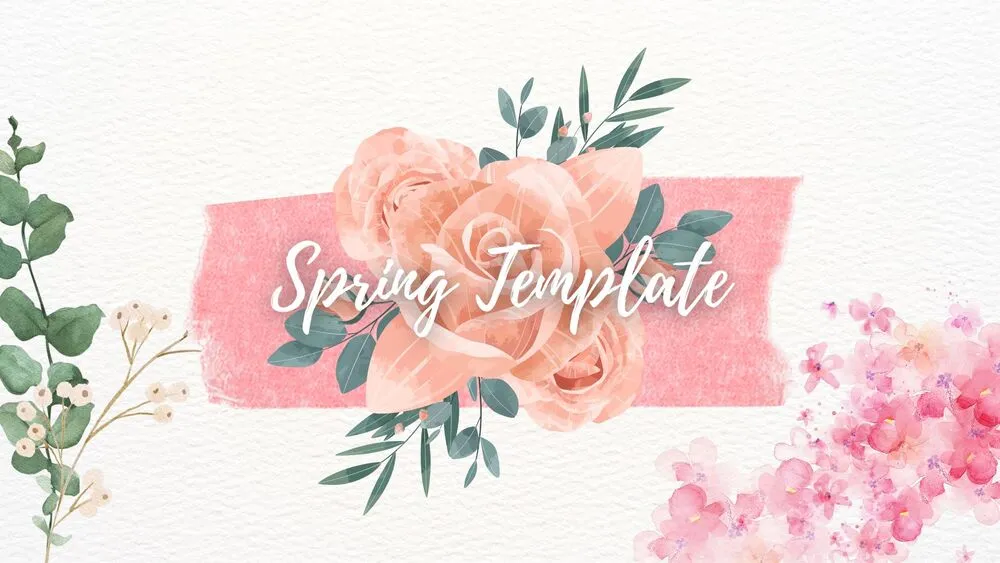
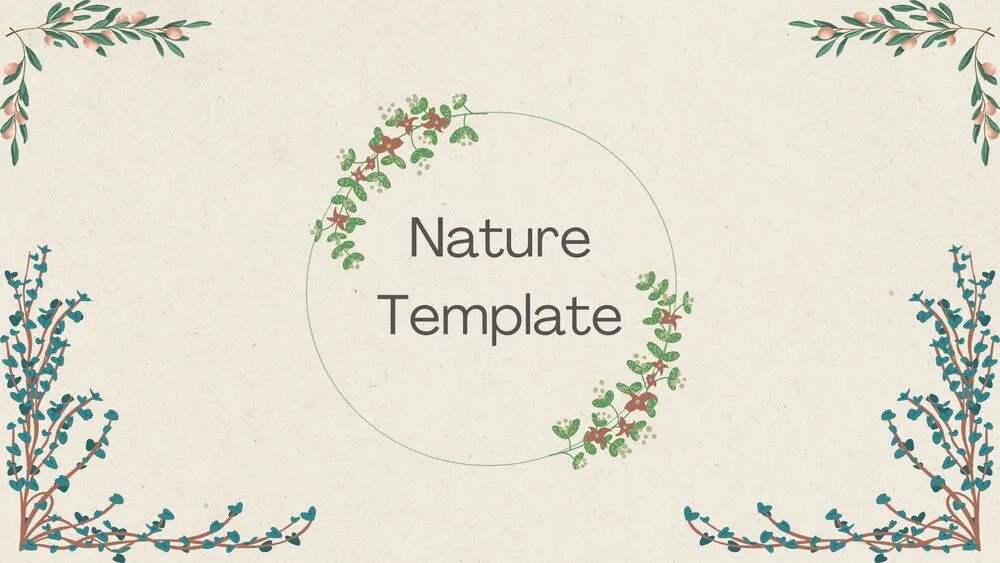
✨ Texture presentation templates add subtle depth to your slides using paper grain, fabric, concrete, or brushed backdrops that still keep content readable. They’re great when you want a premium feel without heavy patterns or distracting visuals.
Best use cases include brand stories, creative portfolios, event decks, and modern reports that need warmth and character. For example, use a textured cover and section divider, then switch to cleaner content slides for charts, quotes, and key points.
Edit in PowerPoint, Canva, or Google Slides, then present live or export to PDF for sharing and print. Adjust opacity, add a light color overlay, and keep typography simple so the texture supports the message instead of competing with it.
Readability tip: Avoid placing long paragraphs directly on heavy grain, add a light panel behind text and keep contrast high.
Best for:
- Textured covers and section dividers
- Brand storytelling and mood decks
- Creative portfolios and lookbooks
- Event promos and invitations
- Modern reports with a premium feel
Explore related templates:
❓ FAQs
Are these texture presentation templates free to download?
Yes—this tag includes free texture presentation templates. If a template is premium, it will be clearly labeled on its template page.
What are texture presentation templates?
Slide decks that use paper, fabric, or grain effects to add depth while keeping text and charts readable.
Do these slides work in PowerPoint, Canva, and Google Slides?
Yes, you can edit and present them in PowerPoint, Canva, and Google Slides, then export to PDF for sharing.
How do I keep textured slides legible?
Lower texture opacity, use a subtle overlay, and add a light panel behind text when needed. Keep contrast high.
When should I use bold vs subtle textures?
Use subtle textures for reports and longer reads, and save bold grain or brush looks for covers and dividers.
Can I change the texture color to match my brand?
Yes, tint the texture with your brand palette and keep the same texture family across the deck for consistency.