Timeline Presentation Templates and Slides – Free & Premium for PowerPoint, Canva & Google Slides
Download free timeline presentation templates for PowerPoint, Canva, and Google Slides. Plan projects and tell stories with clear dates, milestones, and dependencies ⬇️
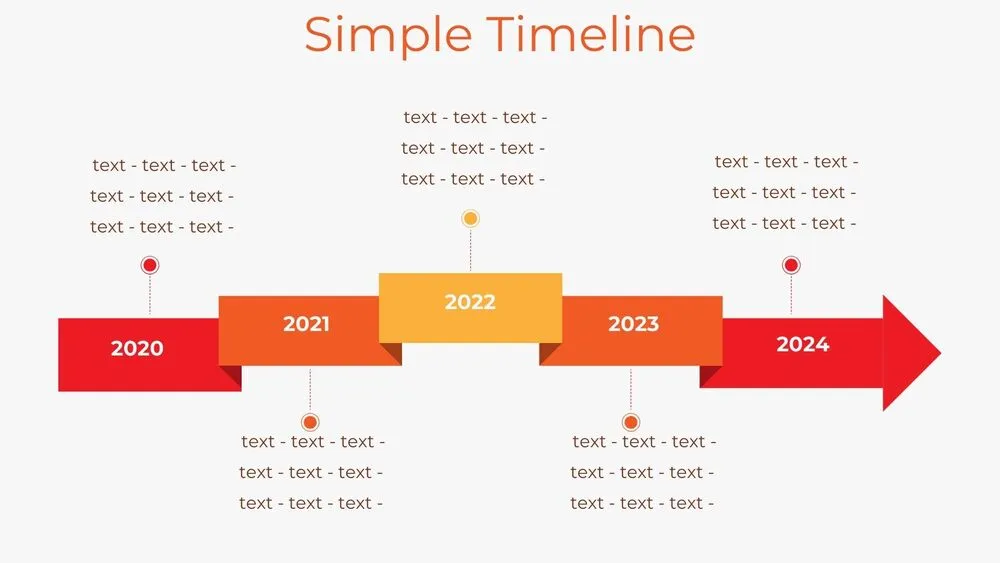
Explore the best timeline presentation templates and slides for PowerPoint, Canva & Google Slides
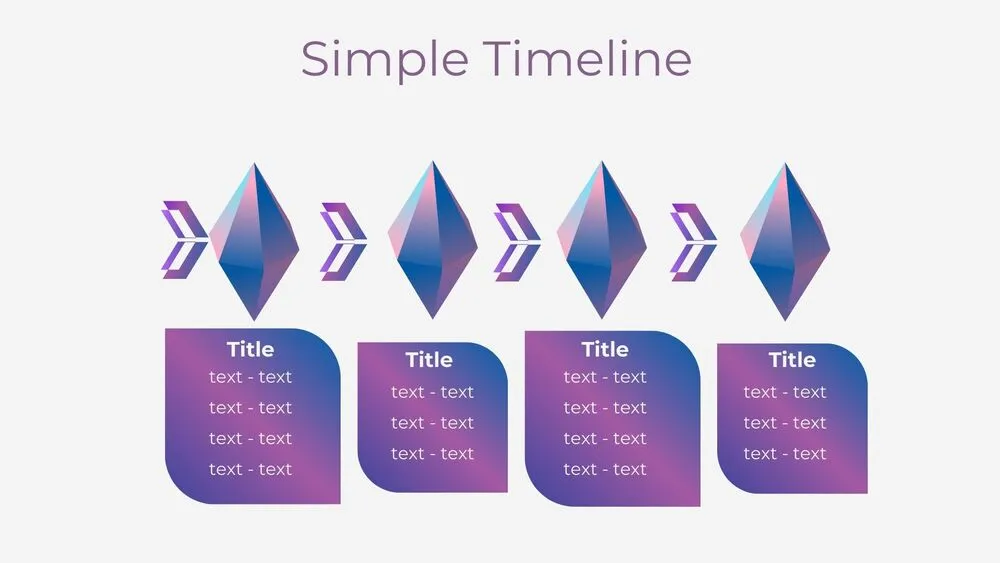
✨ Timeline presentation templates help you show what happens when, with dates, phases, and milestones laid out in a way that’s easy to scan. Use a powerpoint timeline template to present project plans, or build a timeline slide for lessons, history stories, and product launches.
Best use cases include project schedules, roadmaps, launch plans, and historical timelines. For example, map a rollout from discovery to launch with 6–8 milestones, add owners under each phase, and highlight the next deliverable so everyone knows what’s coming.
Edit in PowerPoint, Canva, or Google Slides, then present live or export to PDF for sharing. Start with a timeline template google slides layout for collaboration or a canva timeline design for quick visuals, then keep labels short and add a simple legend for status colors.
Readability tip: Keep each timeline to one story, limit milestones per slide, and place dates directly next to the event they describe.
Best for:
- Project timelines with milestones
- Roadmaps and release plans
- Launch plans and dependency views
- Historical timelines for lessons
- Executive updates and summaries
Explore related templates:
❓ FAQs
Are these timeline presentation templates free to download?
Yes—this tag includes free timeline presentation templates. If a template is premium, it will be clearly labeled on its template page.
What is a timeline presentation template?
An editable set of slides to visualize events or phases with dates, milestones, and dependencies in a clear layout.
Do these slides work in PowerPoint, Canva, and Google Slides?
Yes, you can edit and present them in PowerPoint, Canva, and Google Slides, then export to PDF for sharing.
How do I choose the right timeline layout?
Use horizontal for simple chronological stories, vertical for dense labels, and lanes when you need parallel workstreams.
How many milestones should I put on one slide?
Most slides stay readable with 5–9 milestones, if you need more, split the timeline into phases or multiple slides.
How do I make a timeline easy to scan?
Use short labels, place dates next to events, and add one accent color to highlight the current milestone or next deadline.
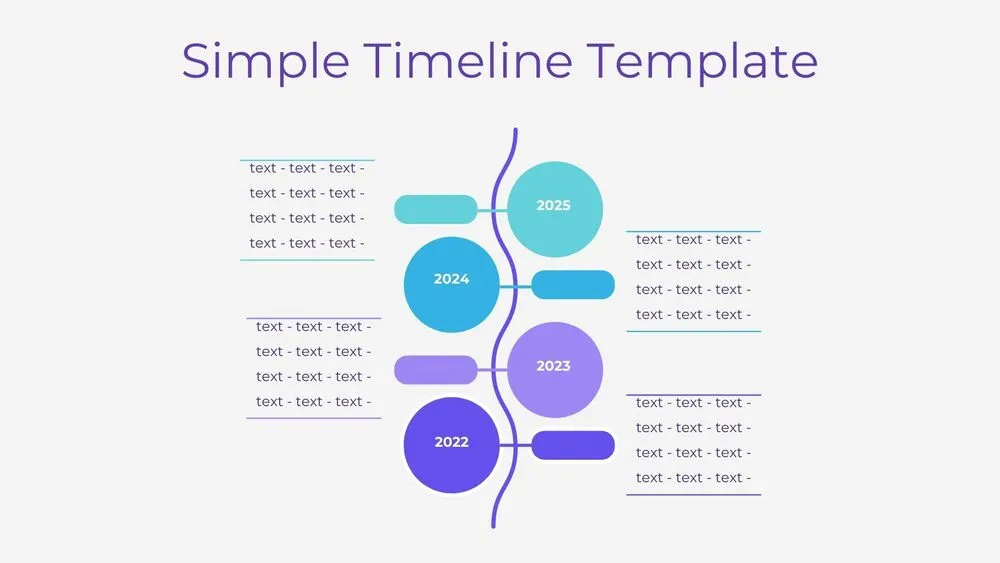
Vertical Wave Timeline Diagram Presentation Template for PowerPoint, Canva & Google Slides
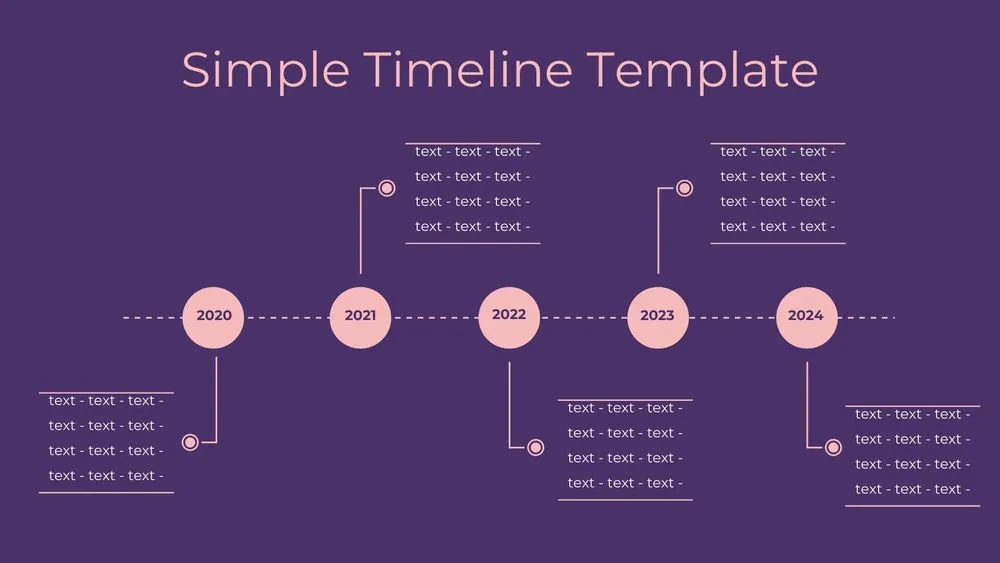
Dark Violet Pins Timeline Diagram Presentation Template for PowerPoint, Canva & Google Slides
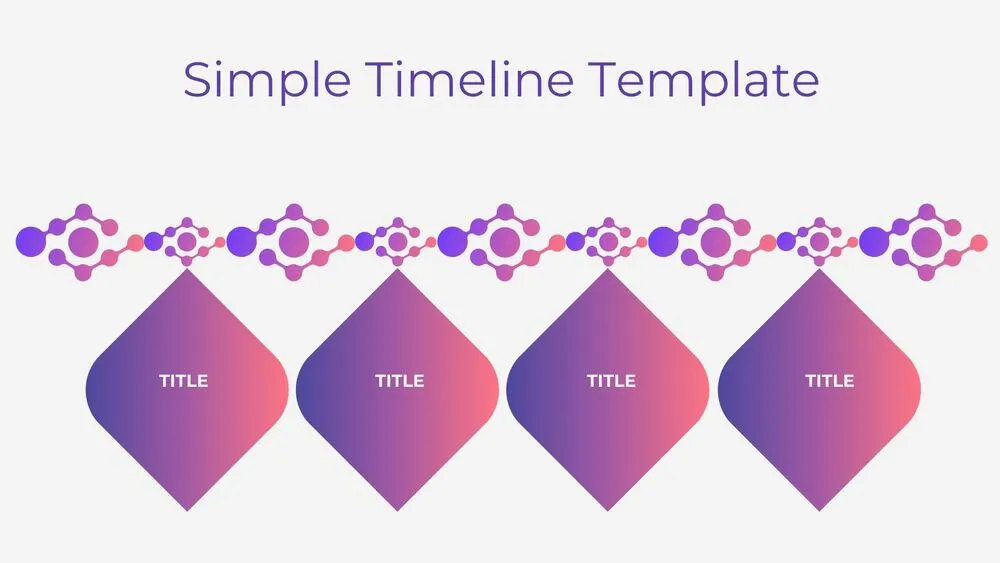
Stepped Path Timeline Diagram Presentation Template for PowerPoint, Canva & Google Slides